About
Call Us Now
+27 82 806 2709
A simple Overview of The Flock Process
The process of flocking is fairly simple and easy. First a suitable adhesive is applied to the surface to be flocked. The flock is then applied, penetrating the surface of the adhesive to create the desired velvet finish.
Electrostatic flock applicators charge the flock particles which are then attracted to the grounded surface that is to be flocked. Unlike puffer or blown application methods which merely sprinkle a flock layer onto the surface, electrostatic application ensures that the fibres all end up standing at right angles to the surface resulting in a velvet finish.
Electrostatic flocking is used extensibly in the automotive industry for coating window rubbers, glove boxes, coin boxes, door cards, consoles, and dashboards. Rally cars usually have their dashes flocked to reduce reflections and to provide an as new finished to a modified dash. Flocking is proving successful in a number of artistic ventures including the decoration of jewellery, ceramics and pottery. Using suitable adhesives flock can be applied to an endless range of materials including plastic, metal, wood, rubber and fibre glass.
A More Detailed Insight
Consumers are always looking for something different and unusual. Suppliers seek the same thing – a special item or product that will increase their market share or generate new business. An example of this might be the recent popularity of mixed media garments in the marketplace. Developing something different is always a top priority, then, and is the driving force behind the recent resurgence of printer interest in learning about flocking.
Flocking for decoration is not new, of course; similar methods were used in the Middle Ages to attach fibre dust to sticky surfaces. It was in the 1970s, however, with the advent of improved technologies and adhesives, that flocking became a popular decoration method. Then, in the 1980s and early 1990s the popularity of flocking faded away and few printers used the process. Even so, while flocking is not the most widely used decorating process, nor is it a well known decorating technique, the average person is aware of its velvet or suede feel.
Over the last several years, however, inquiries about the process have begun to increase, and flocking is once again in demand as a decorating method. Even though flocking may not be most decorators’ first choice process at present, it is used widely in many industrial applications. Flocked surfaces reduce water condensation, act as good thermal insulators, and have been used in the automotive industry for years for such items as glove compartment boxes, door mouldings and window trim.
Flocking - What is it ?
In short, the flocking process involves applying short monofilament fibres, usually nylon or rayon, directly on to a substrate that has been previously coated with an adhesive. The diameter of the individual flock strand is only a few thousandths of a centimetre, and ranges in length from 0.25 – 5 mm. Adhesives that capture the fibres must have the same flexibility and resistance to wear as the substrate. The process uses special equipment that electrically charges the flock particles causing them to stand-up. The fibres are then propelled and anchored into the adhesive at right angles to the substrate. The application is both durable and permanent. Flock can be applied to glass, metal, plastic, paper or textiles. Flock design applications are also found on many items such as garments, greeting cards, trophies, promotional items, toys and book covers.
Application Methods
Decorative flocking is accomplished by using one of four application methods: electrostatic, beater bar/gravity, spraying and transfers. The electrostatic method is perhaps the most viable flocking method, especially for the printer doing more than an occasional flocking job. Flocking material can also be sprayed using an air compressor, reservoir, and spray gun similar to spraying paint. The resulting finish using this method is similar to a thin felt coating, as most of the fibres will be lying down in the adhesive. It is primarily used when large areas require flocking. It is an untidy process, because some of the flocking fibres become airborne. Flocking is also applied by printing an adhesive on to a substrate, and then rapidly vibrating the substrate mechanically, while the flock fibres are dispensed over the surface.
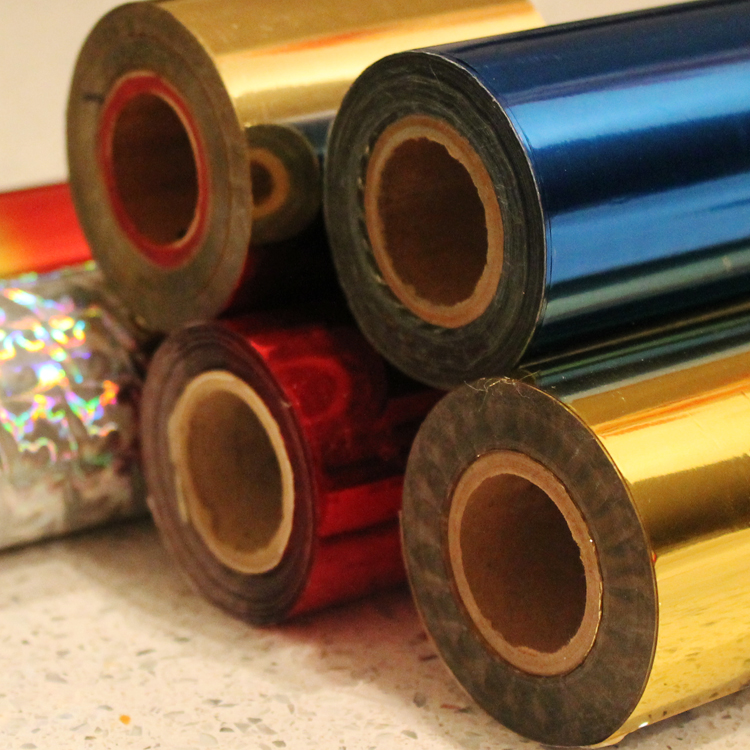
Hot Stamping Foil
It is commonly used in women’s, children’s and men’s clothing, home textiles, shoes, handbags, accessories, and T-shirts printing. Hot Stamping Foil is available in a very large variety of colors and designs to suit any situation.
INSTRUCTIONS FOR BEST RESULTS: 1. Preheat your heat press to (310°F / 154°C). 2. Print and press the desired graphic onto the shirt or substrate according the instructions. Apply adhesive according to stencil or screen onto garment 3. Place your garment onto the press, graphic side up. 4. Cut out a pieces of foil matching the size and shape of your design. You can mix and match different styles on the same graphic. 5. Place the foil over your design, color side up. 6. Cover with Kraft paper and press at (310°F / 154°C) for 15 seconds with medium high pressure. 7. Open the press, remove the cover sheet, HOT PEEL foil reel off immediately, Cold peel rub the foil with a piece of textile for a few seconds to solidify and cool the foil while still on the press. 8. Remove and let cool for 3 – 5 minutes. 9. Once the garment is completely cooled, carefully peel away the foil in one smooth, continuous motion. • The foil will adhere to the graphic only where adhesive is present. • Removal while still warm could lead to an incomplete or faulty transfer. 10. Re-Pressing (fixing) the image into the garment is important for wash durability. Place Kraft paper over the image and re-press for roughly 20 seconds at 310°F / 154°C.
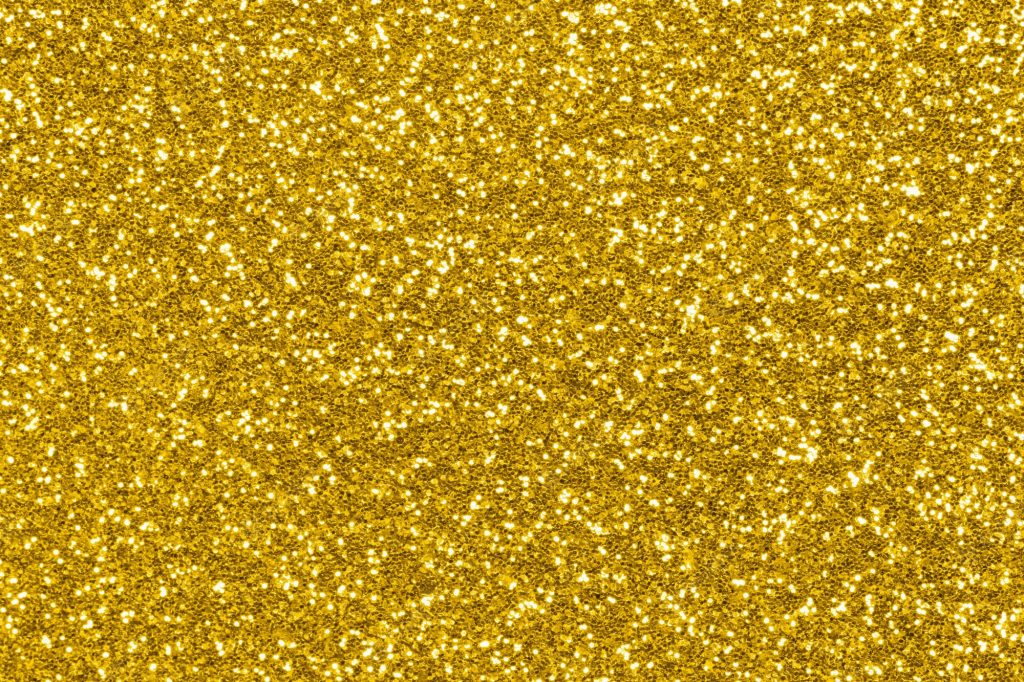
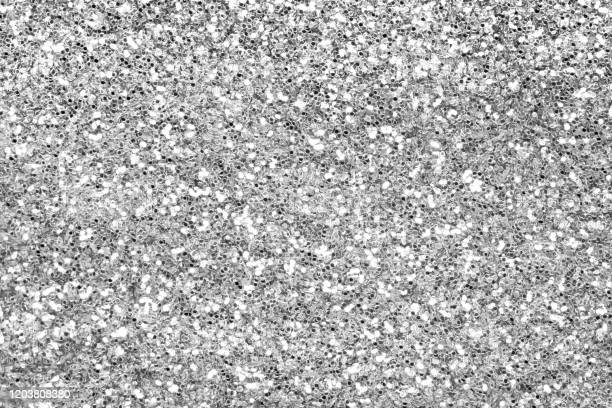
Glitter For Garments